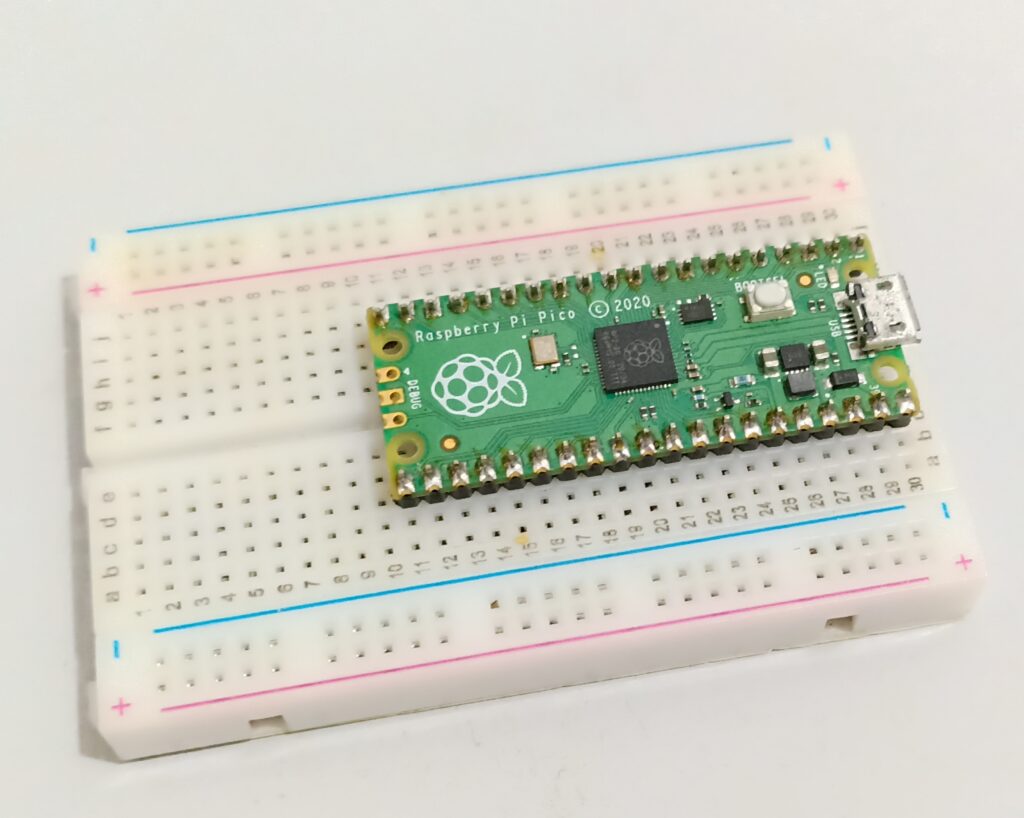
Vamos aprender a programar a Raspberry Pi Pico com Arduino IDE, seguindo o tutorial disponível neste link. A principal forma de programa-la é através de microPython, como eu mostro aqui e aqui. Hoje vamos ver como é fácil usar a IDE do Arduino.
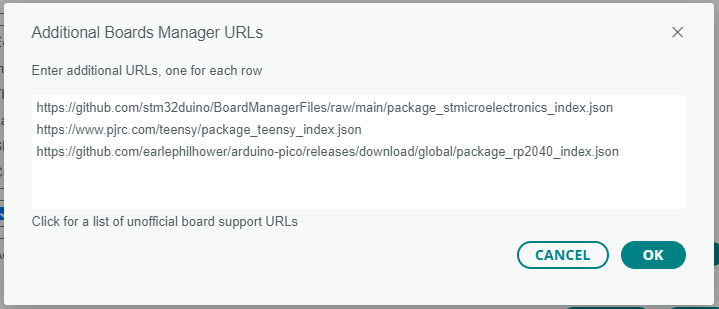
Primeiro vamos configurar a IDE do Arduino com o link para o código desta placa. Para isso vá em “File > Preferences > Additional boards manager URLs” e digite:
https://github.com/earlephilhower/arduino-pico/releases/download/global/package_rp2040_index.jsonMais ou menos como na imagem abaixo (onde eu já tenho também o ESP32 e o Tennsy configurados):
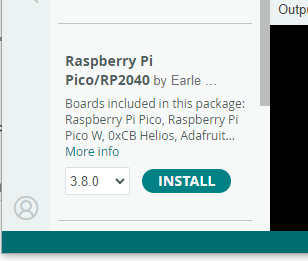
Agora vá em “Tools > Board > Boards manager” e digite “pico”. Selecione a opção “Raspberry Pi Pico/RP2040 by Earle”, clique em “install”.
Finalmente vá em “Tools > Board” e selecione sua placa (no meu caso, “Raspberry Pi Pico”). Abra o sketch/programa “File > Examples> 02.Digital > BlinkWithoutDelay”. No caso da Pi pico o LED onboard está no pino 25, veja abaixo que alterei.
// constants won't change. Used here to set a pin number:
const int ledPin = 25; // the number of the LED pin
// Variables will change:
int ledState = LOW; // ledState used to set the LED
// Generally, you should use "unsigned long" for variables that hold time
// The value will quickly become too large for an int to store
unsigned long previousMillis = 0; // will store last time LED was updated
// constants won't change:
const long interval = 1000; // interval at which to blink (milliseconds)
void setup() {
// set the digital pin as output:
pinMode(ledPin, OUTPUT);
}
void loop() {
// here is where you'd put code that needs to be running all the time.
// check to see if it's time to blink the LED; that is, if the difference
// between the current time and last time you blinked the LED is bigger than
// the interval at which you want to blink the LED.
unsigned long currentMillis = millis();
if (currentMillis - previousMillis >= interval) {
// save the last time you blinked the LED
previousMillis = currentMillis;
// if the LED is off turn it on and vice-versa:
if (ledState == LOW) {
ledState = HIGH;
} else {
ledState = LOW;
}
// set the LED with the ledState of the variable:
digitalWrite(ledPin, ledState);
}
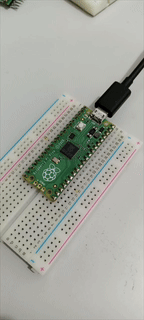
}Para gravar o Pi Pico, desconecte-o da USB, aperte e segure o botão BOOTSEL da placa e conecte-o novamente na USB. Depois vá em “Tools > Port” e selecione “UF2 board”. Clique no botão de upload de código. Veja o LED piscando.
A partir da segunda vez que você quiser fazer gravação de código, basta selecionar a porta COM correta e clicar em “upload”. Em um futuro próximo teremos mais tutoriais da Pi Pico com a IDE do Arduino, utilizando sensores e atuadores.


